Leather and glue.
The shop cordwainer worked up a number of shoe patterns and after showing soft leather scraps to the designer, finally got the go ahead for Charlotte's new shoes.
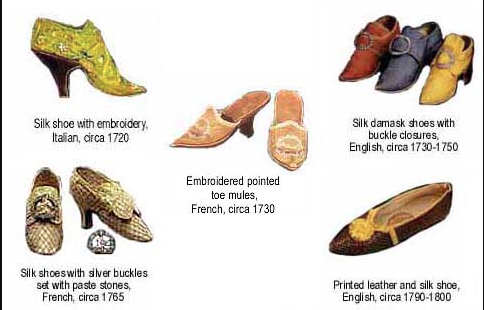
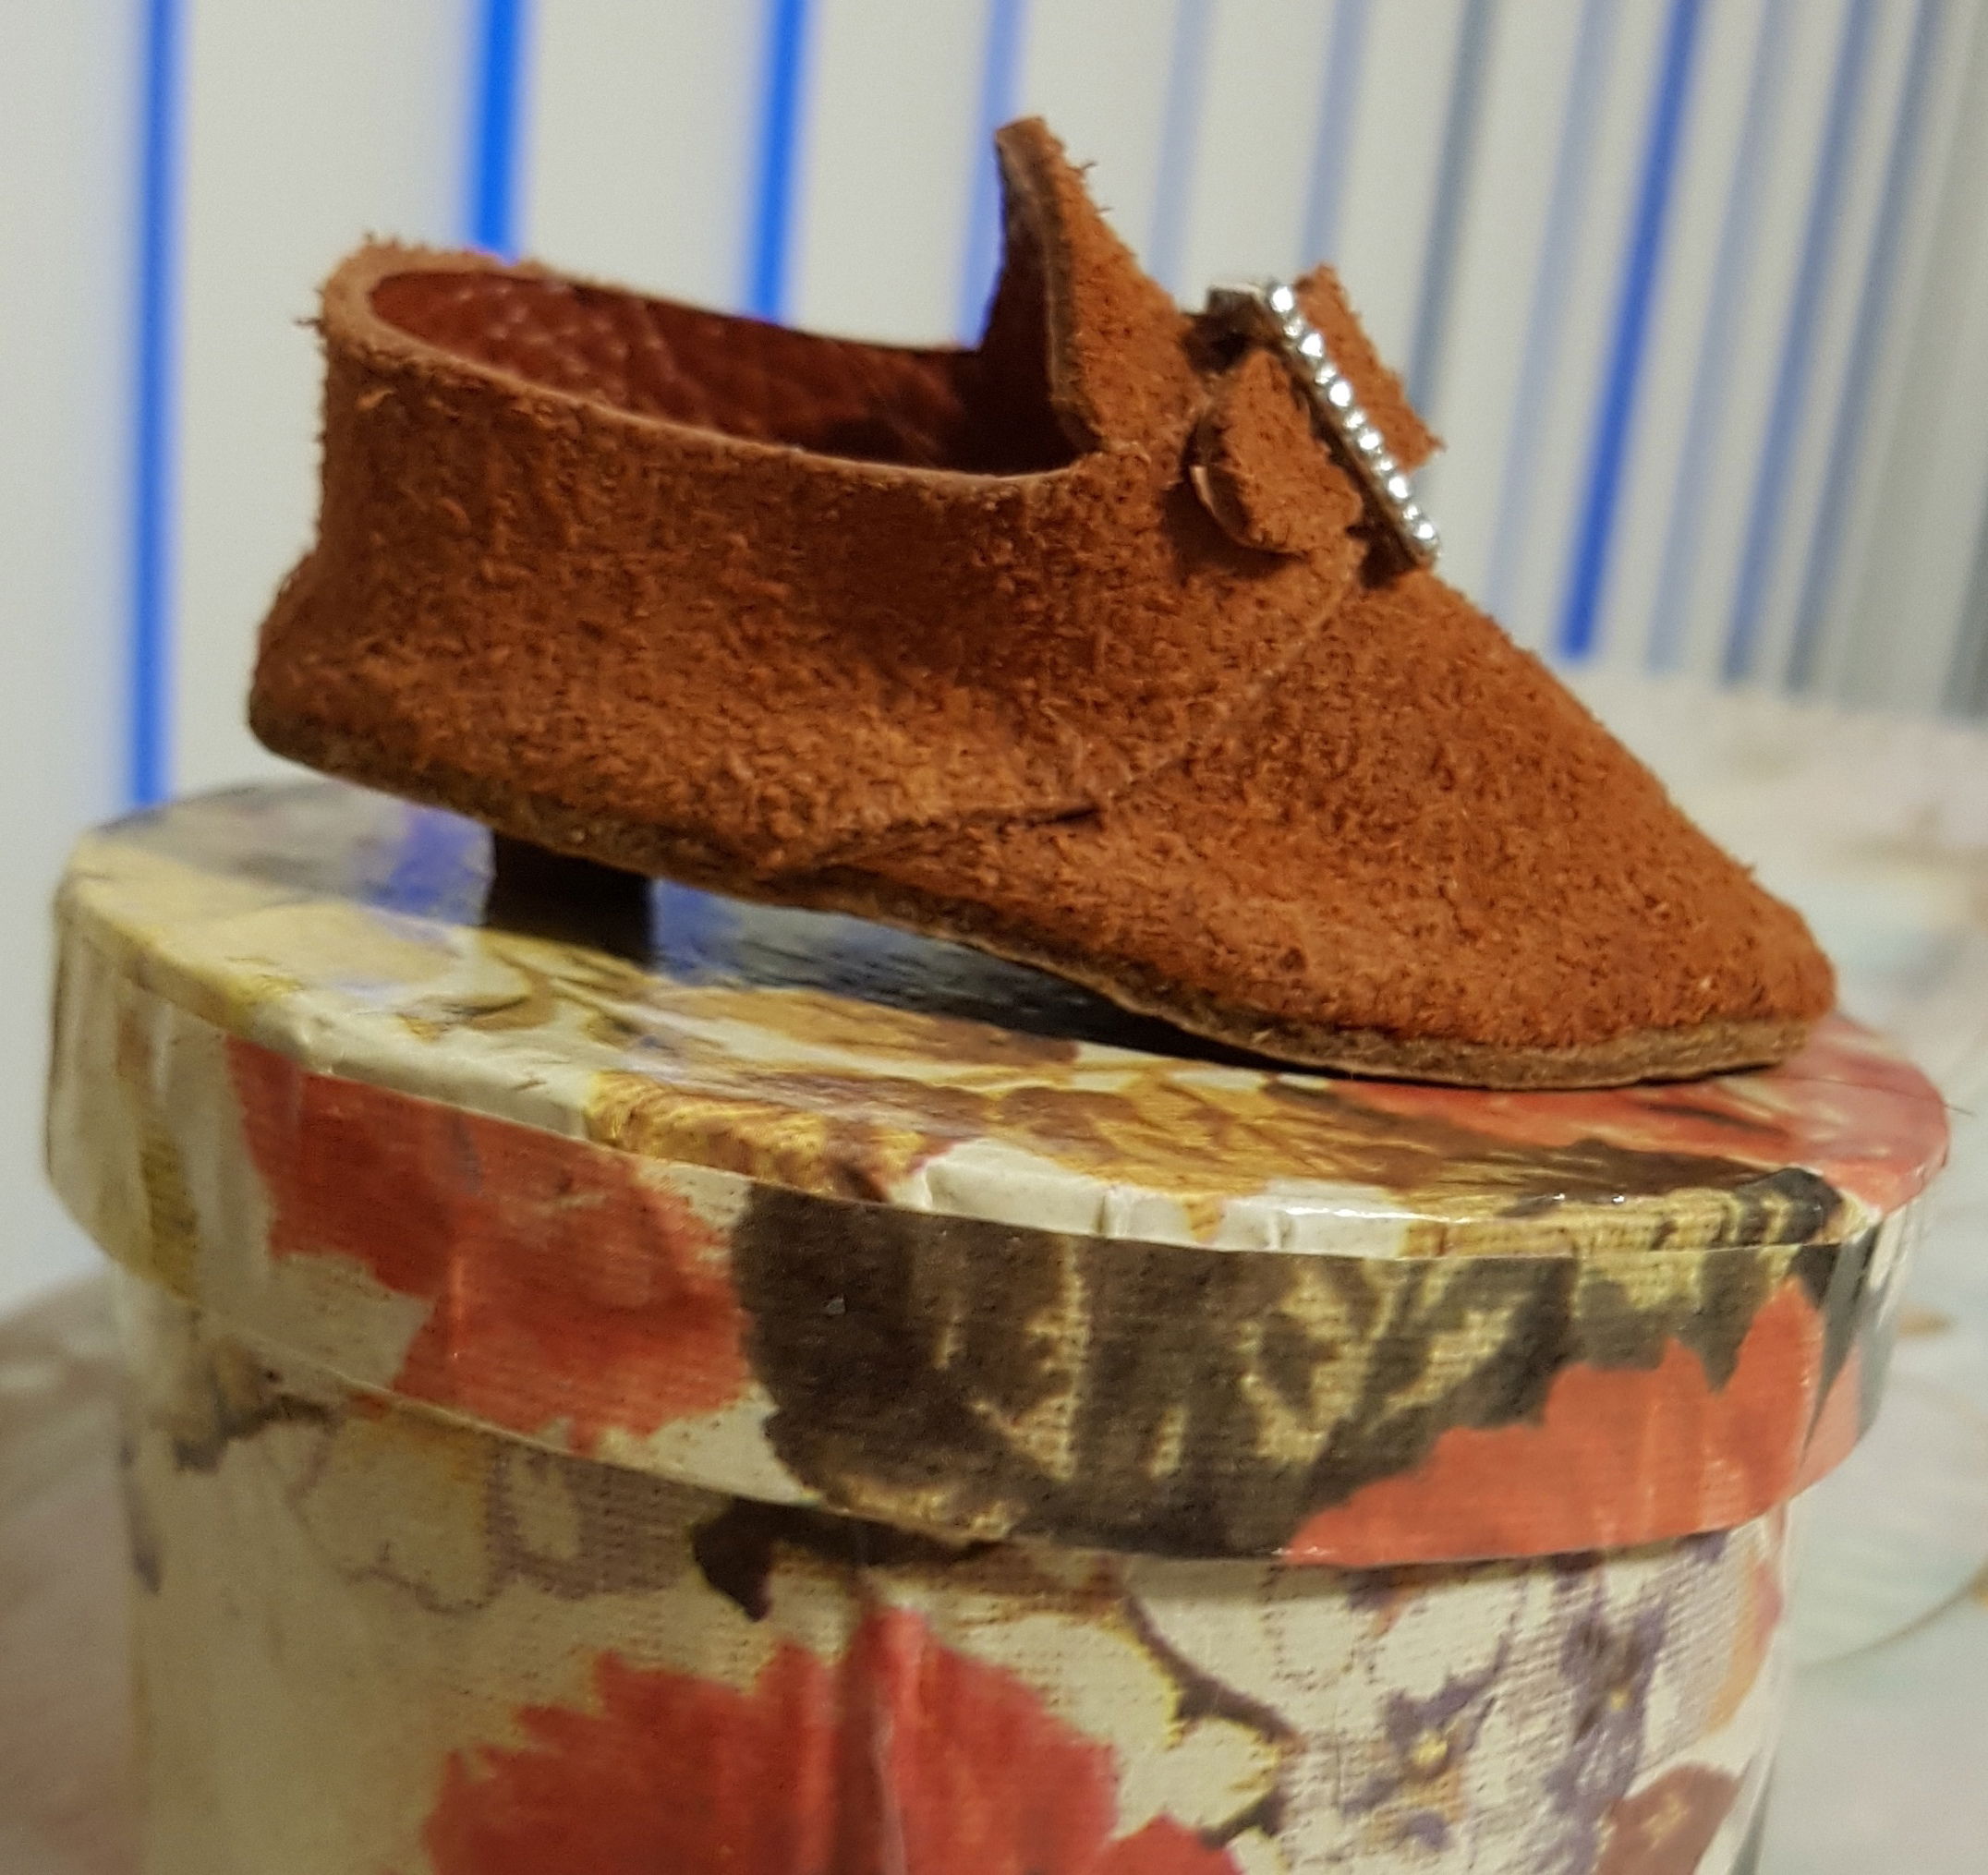
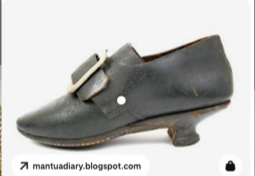
Shoes do change in form, heel height and materials over the 18th century. So research is required for specific time periods. Our prototype is a generic look with buckles and latchets.
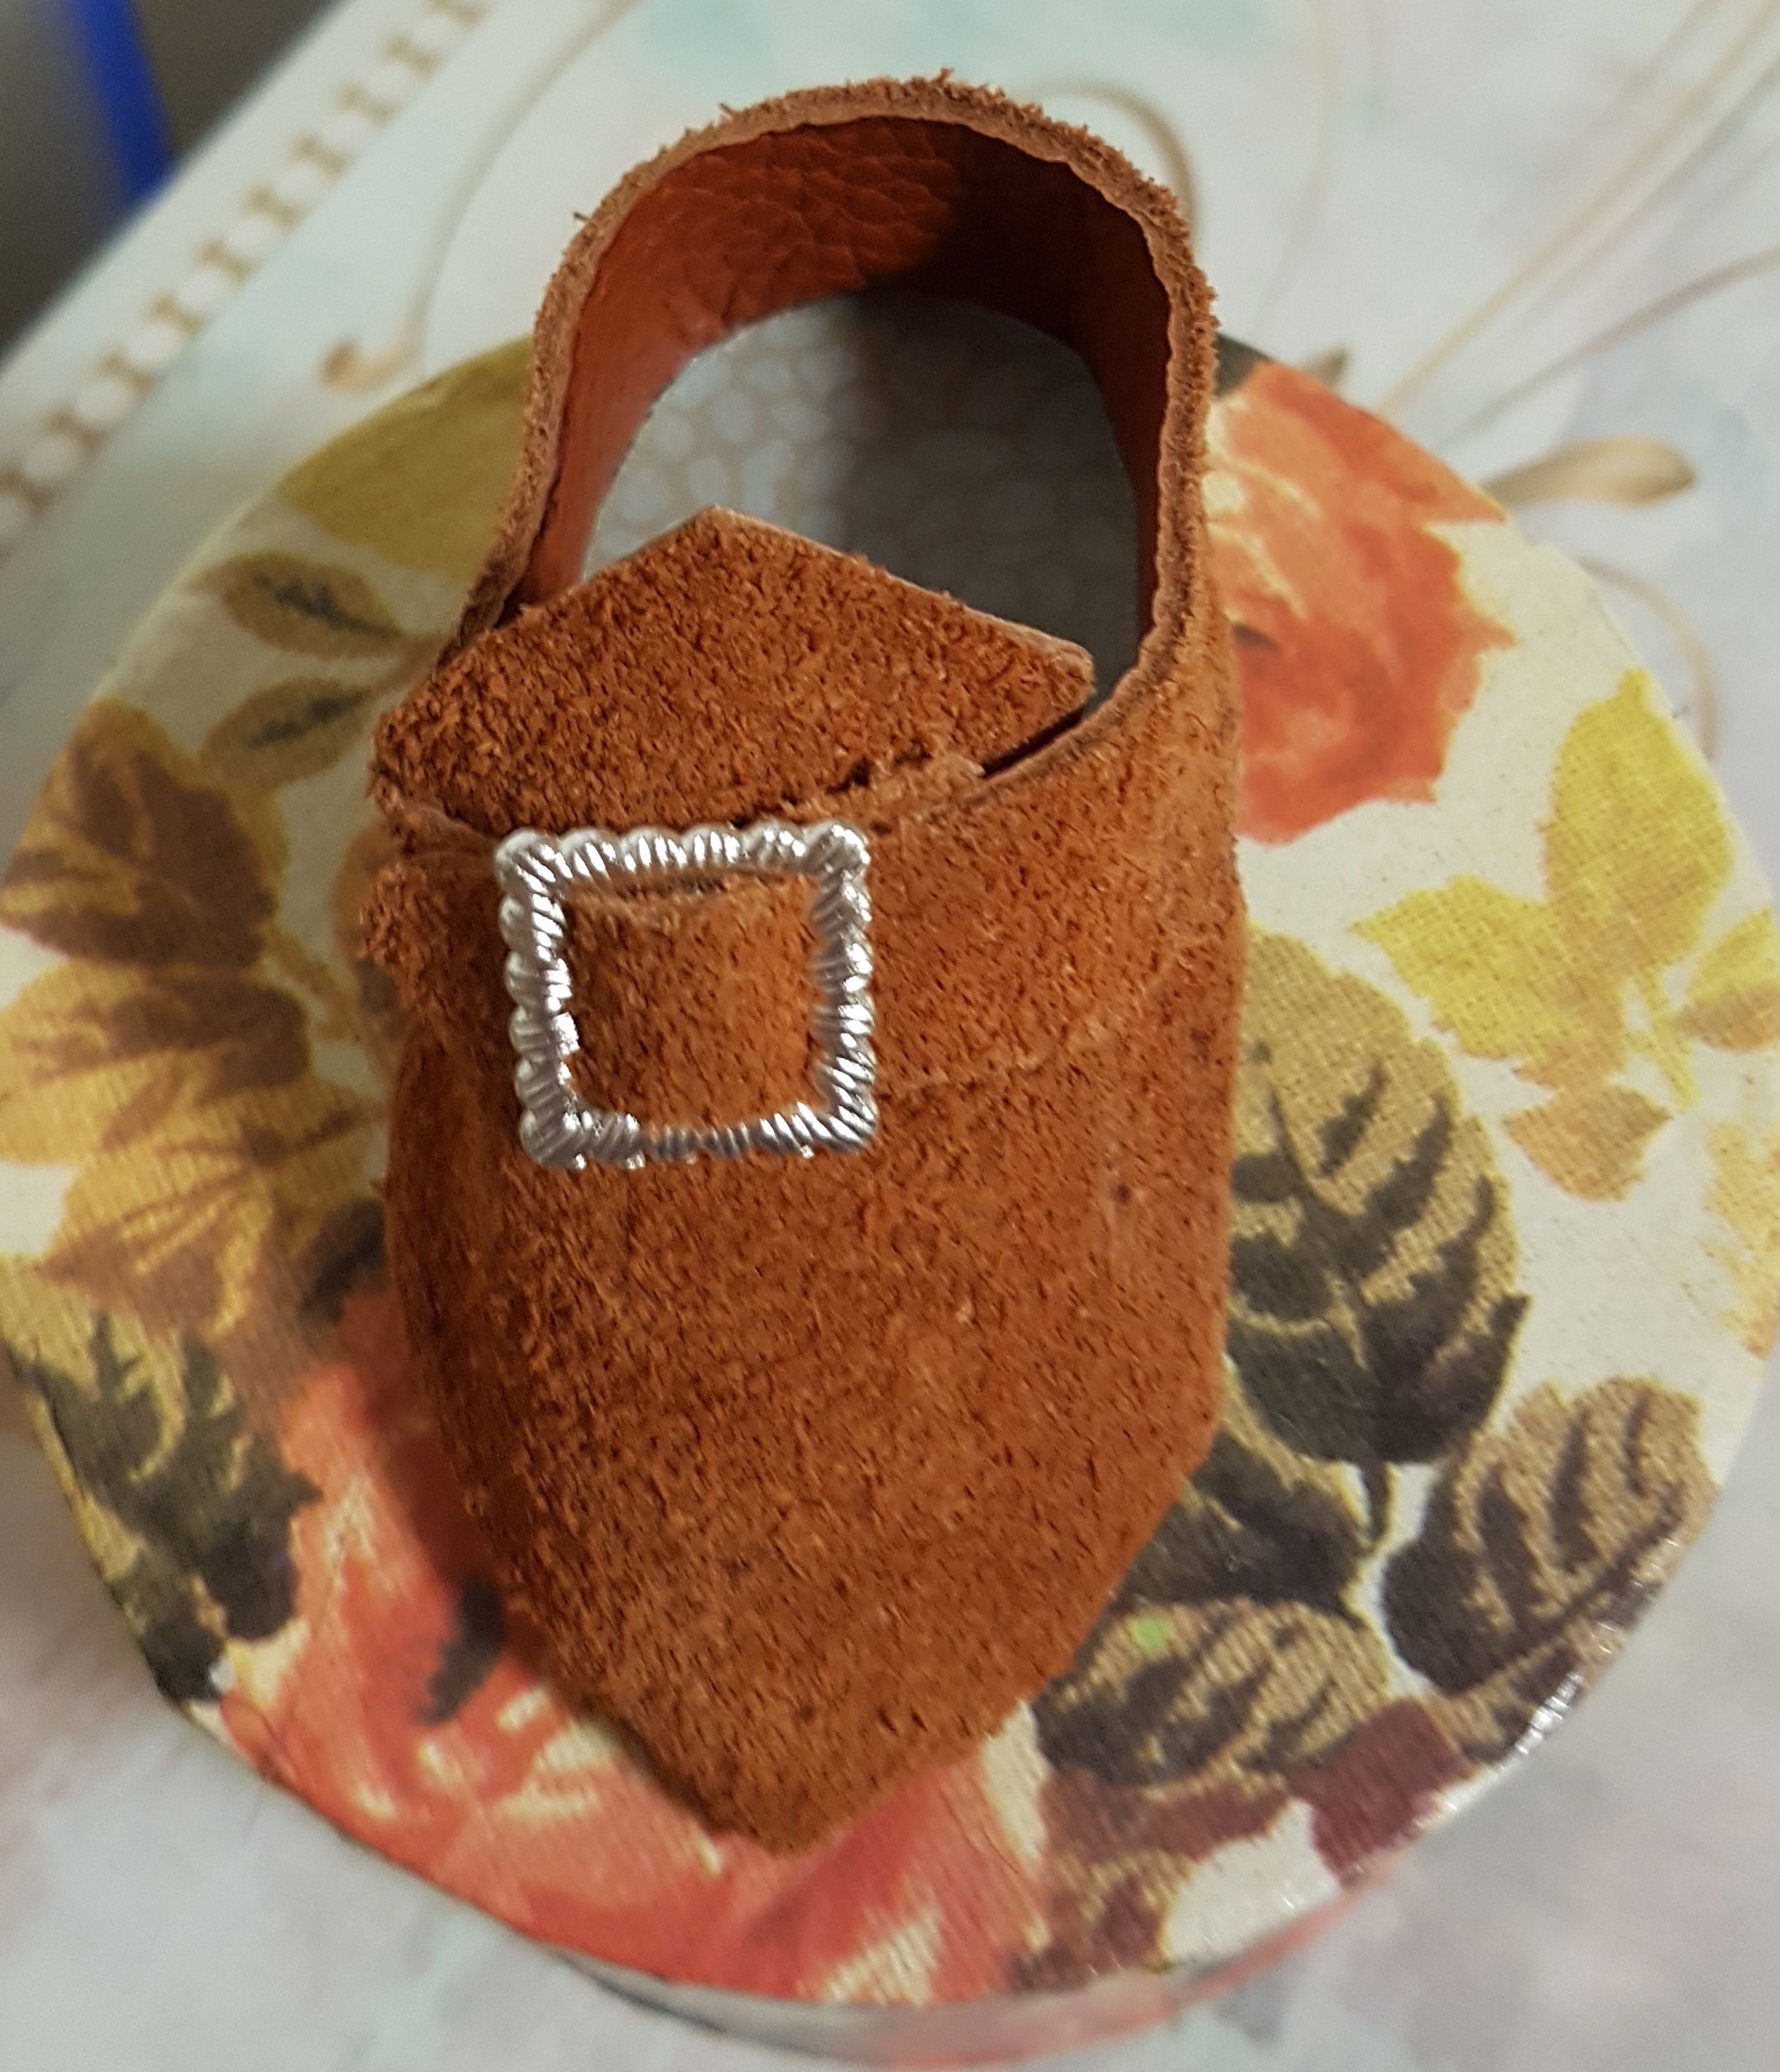
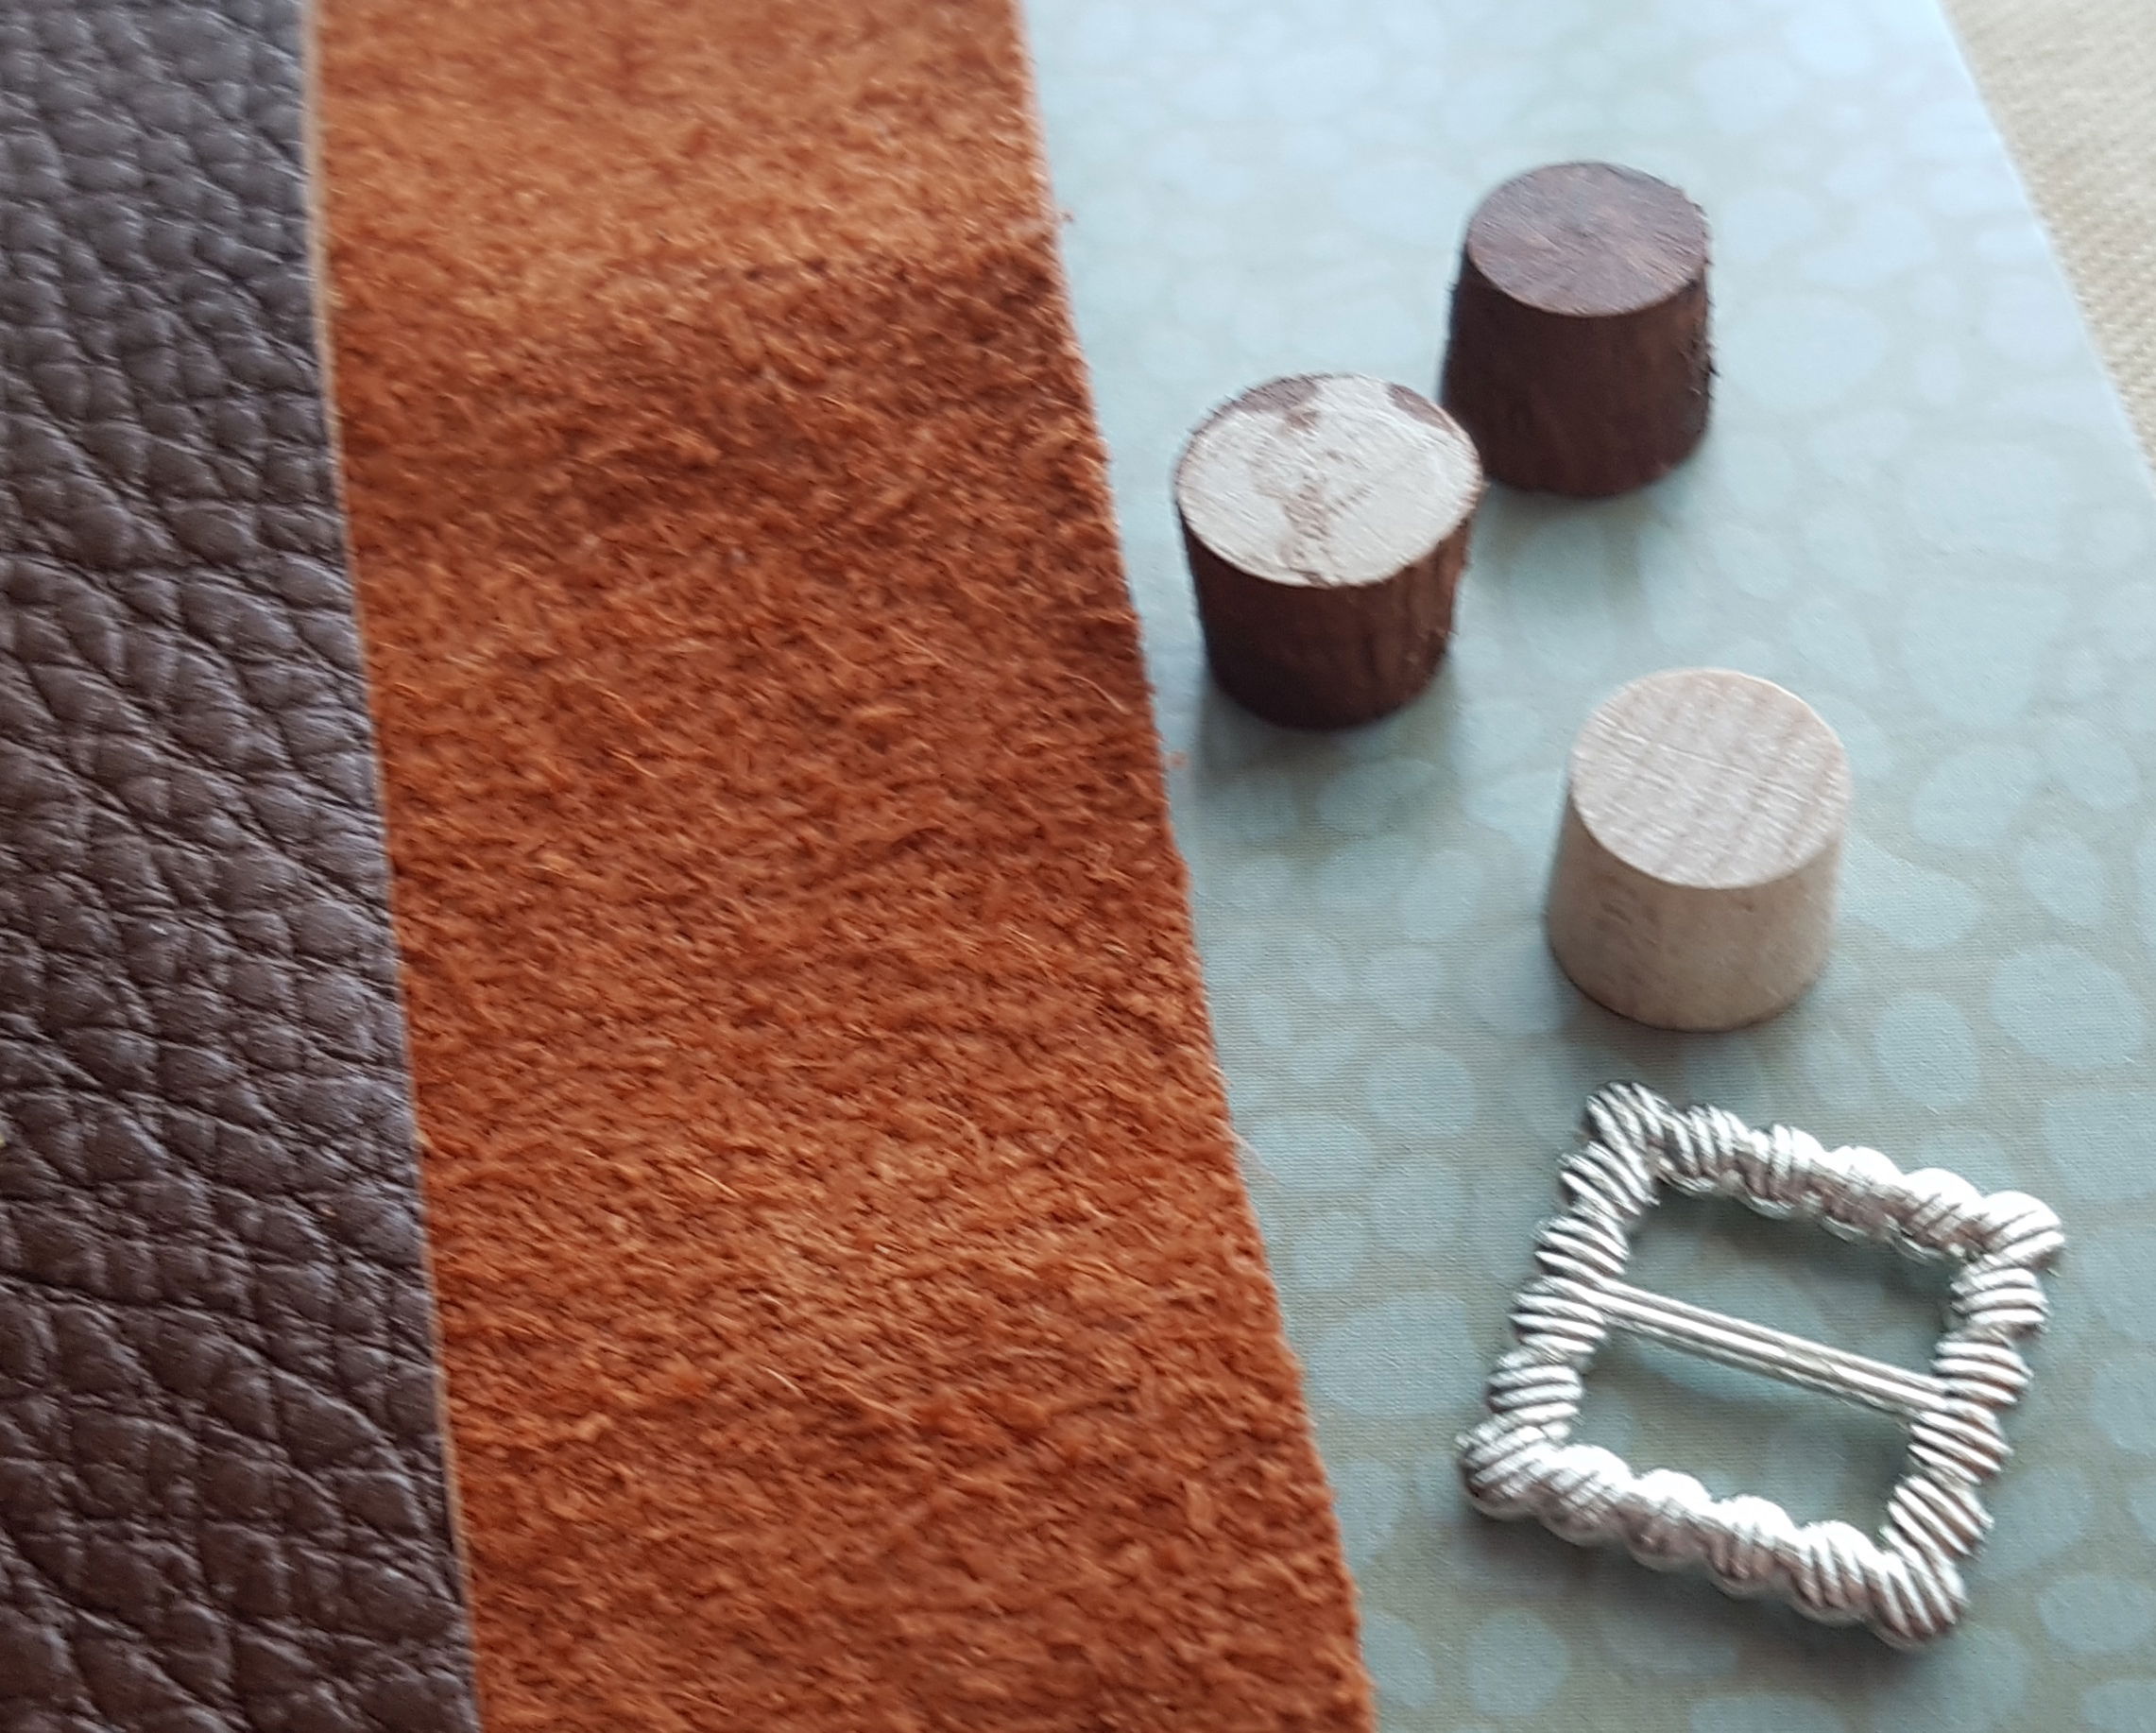
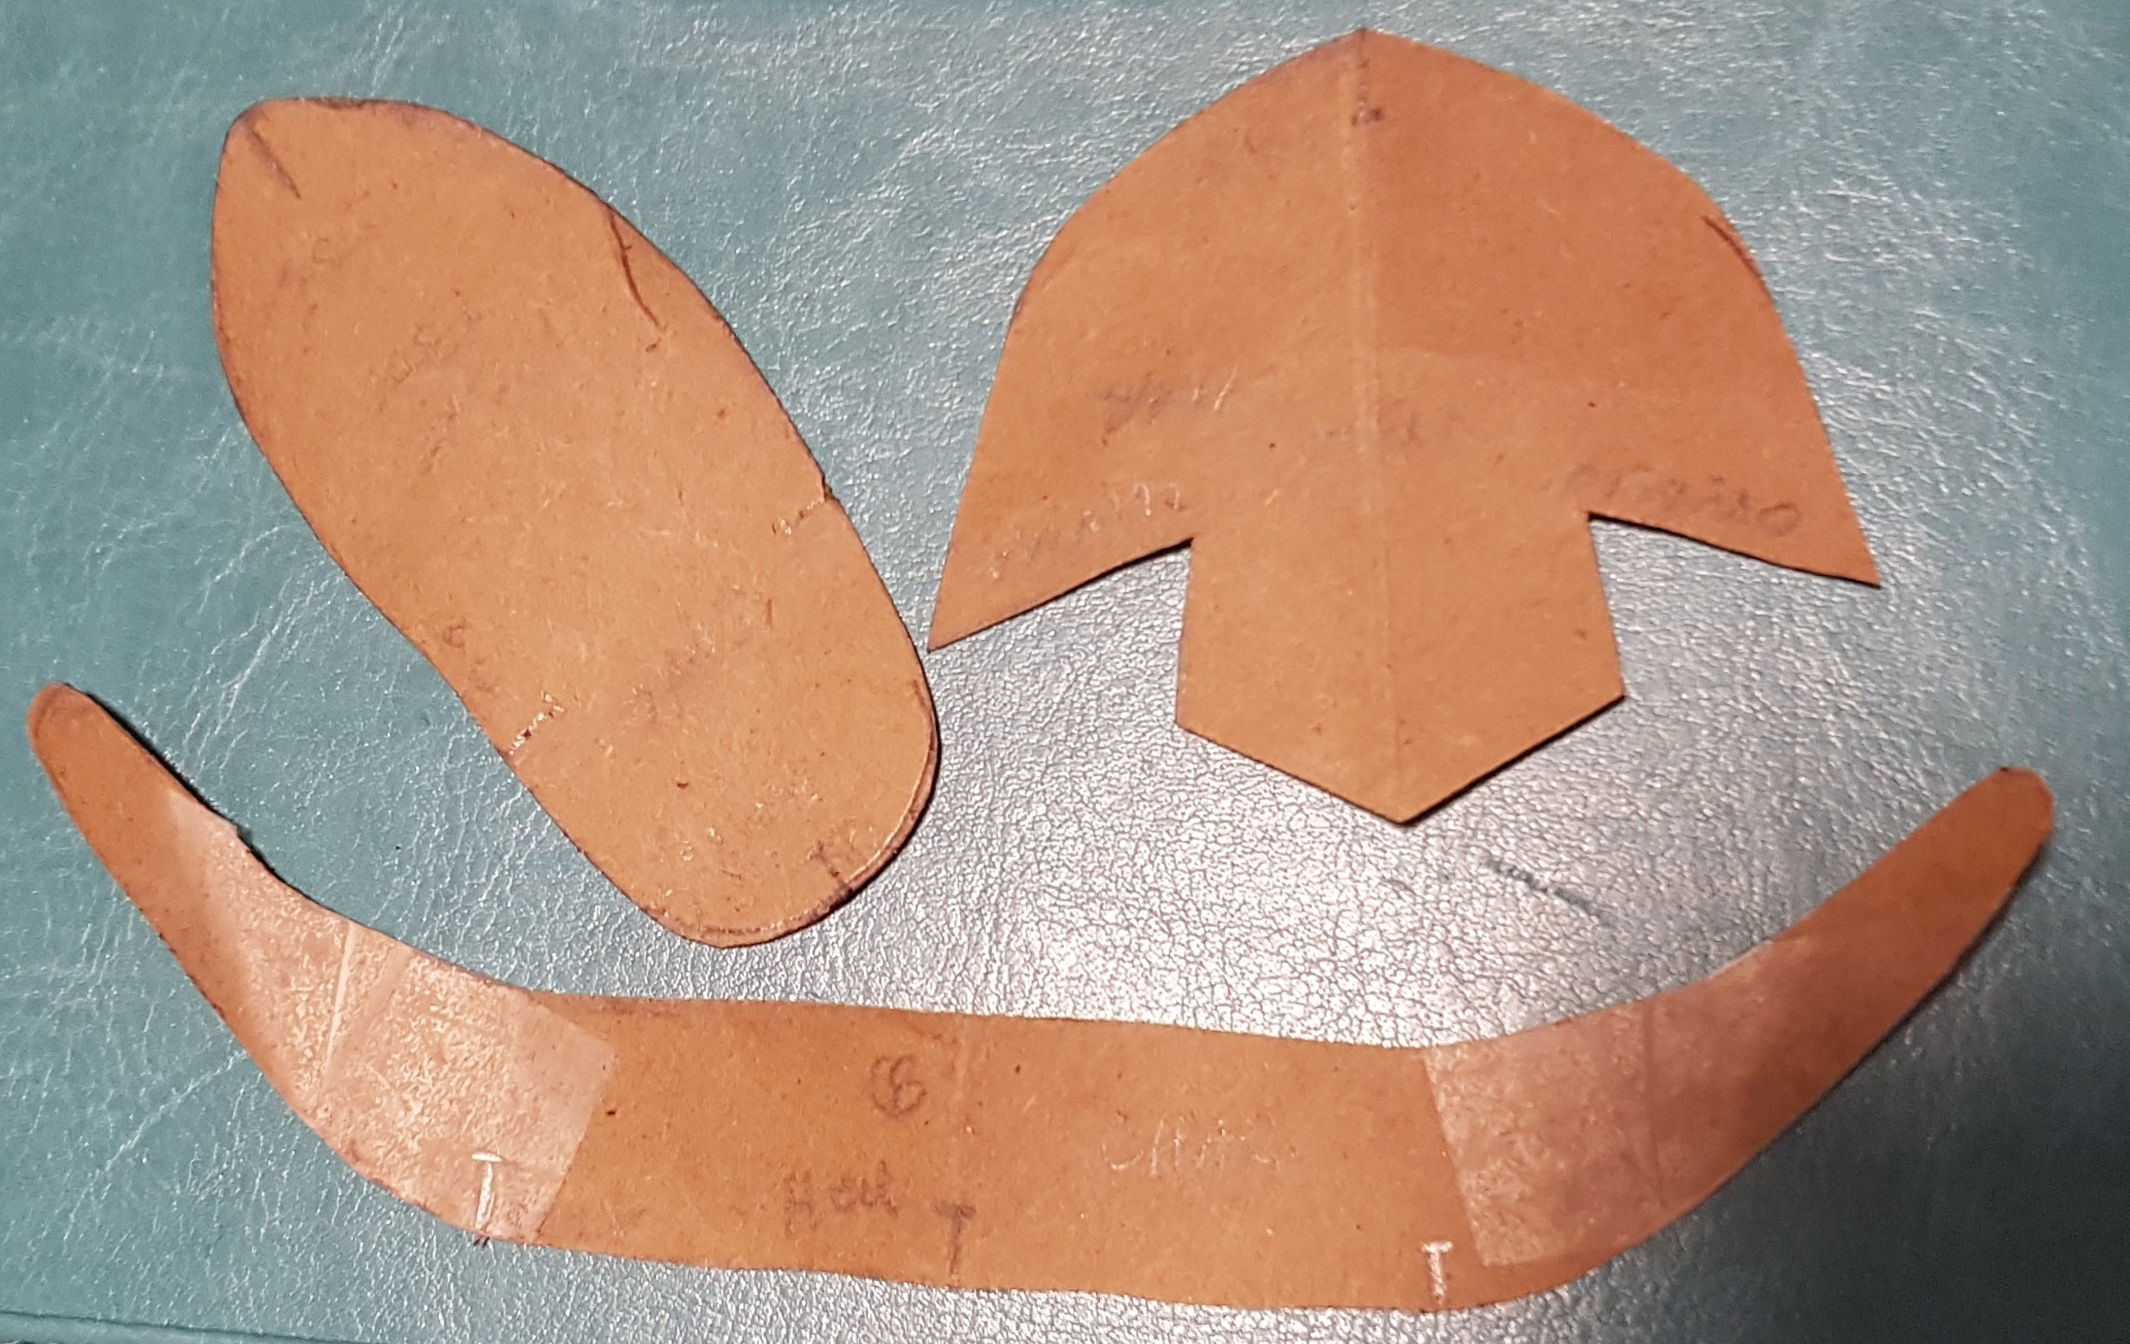
Suede was the approved choice, along with square buckles sans rhinestones. The base/insole is Kleenex box cardboard. A heavier brown leather is used for the soles. The buckles were stock items, just the right size for latchets to pull through. Heels are painted wooden pegs (Used to fill in screw holes in wood furniture. Lots of different sizes at the lumber supply.).
There was much discussion about applying or not applying heels. Our ladies have flat feet, after all. A compromise was met and the new shoes sport a small heel, set forward for a fashionable look.
Leather allows for glue rather than stitching. There is not need to finish the edges, unless you want to add trim.
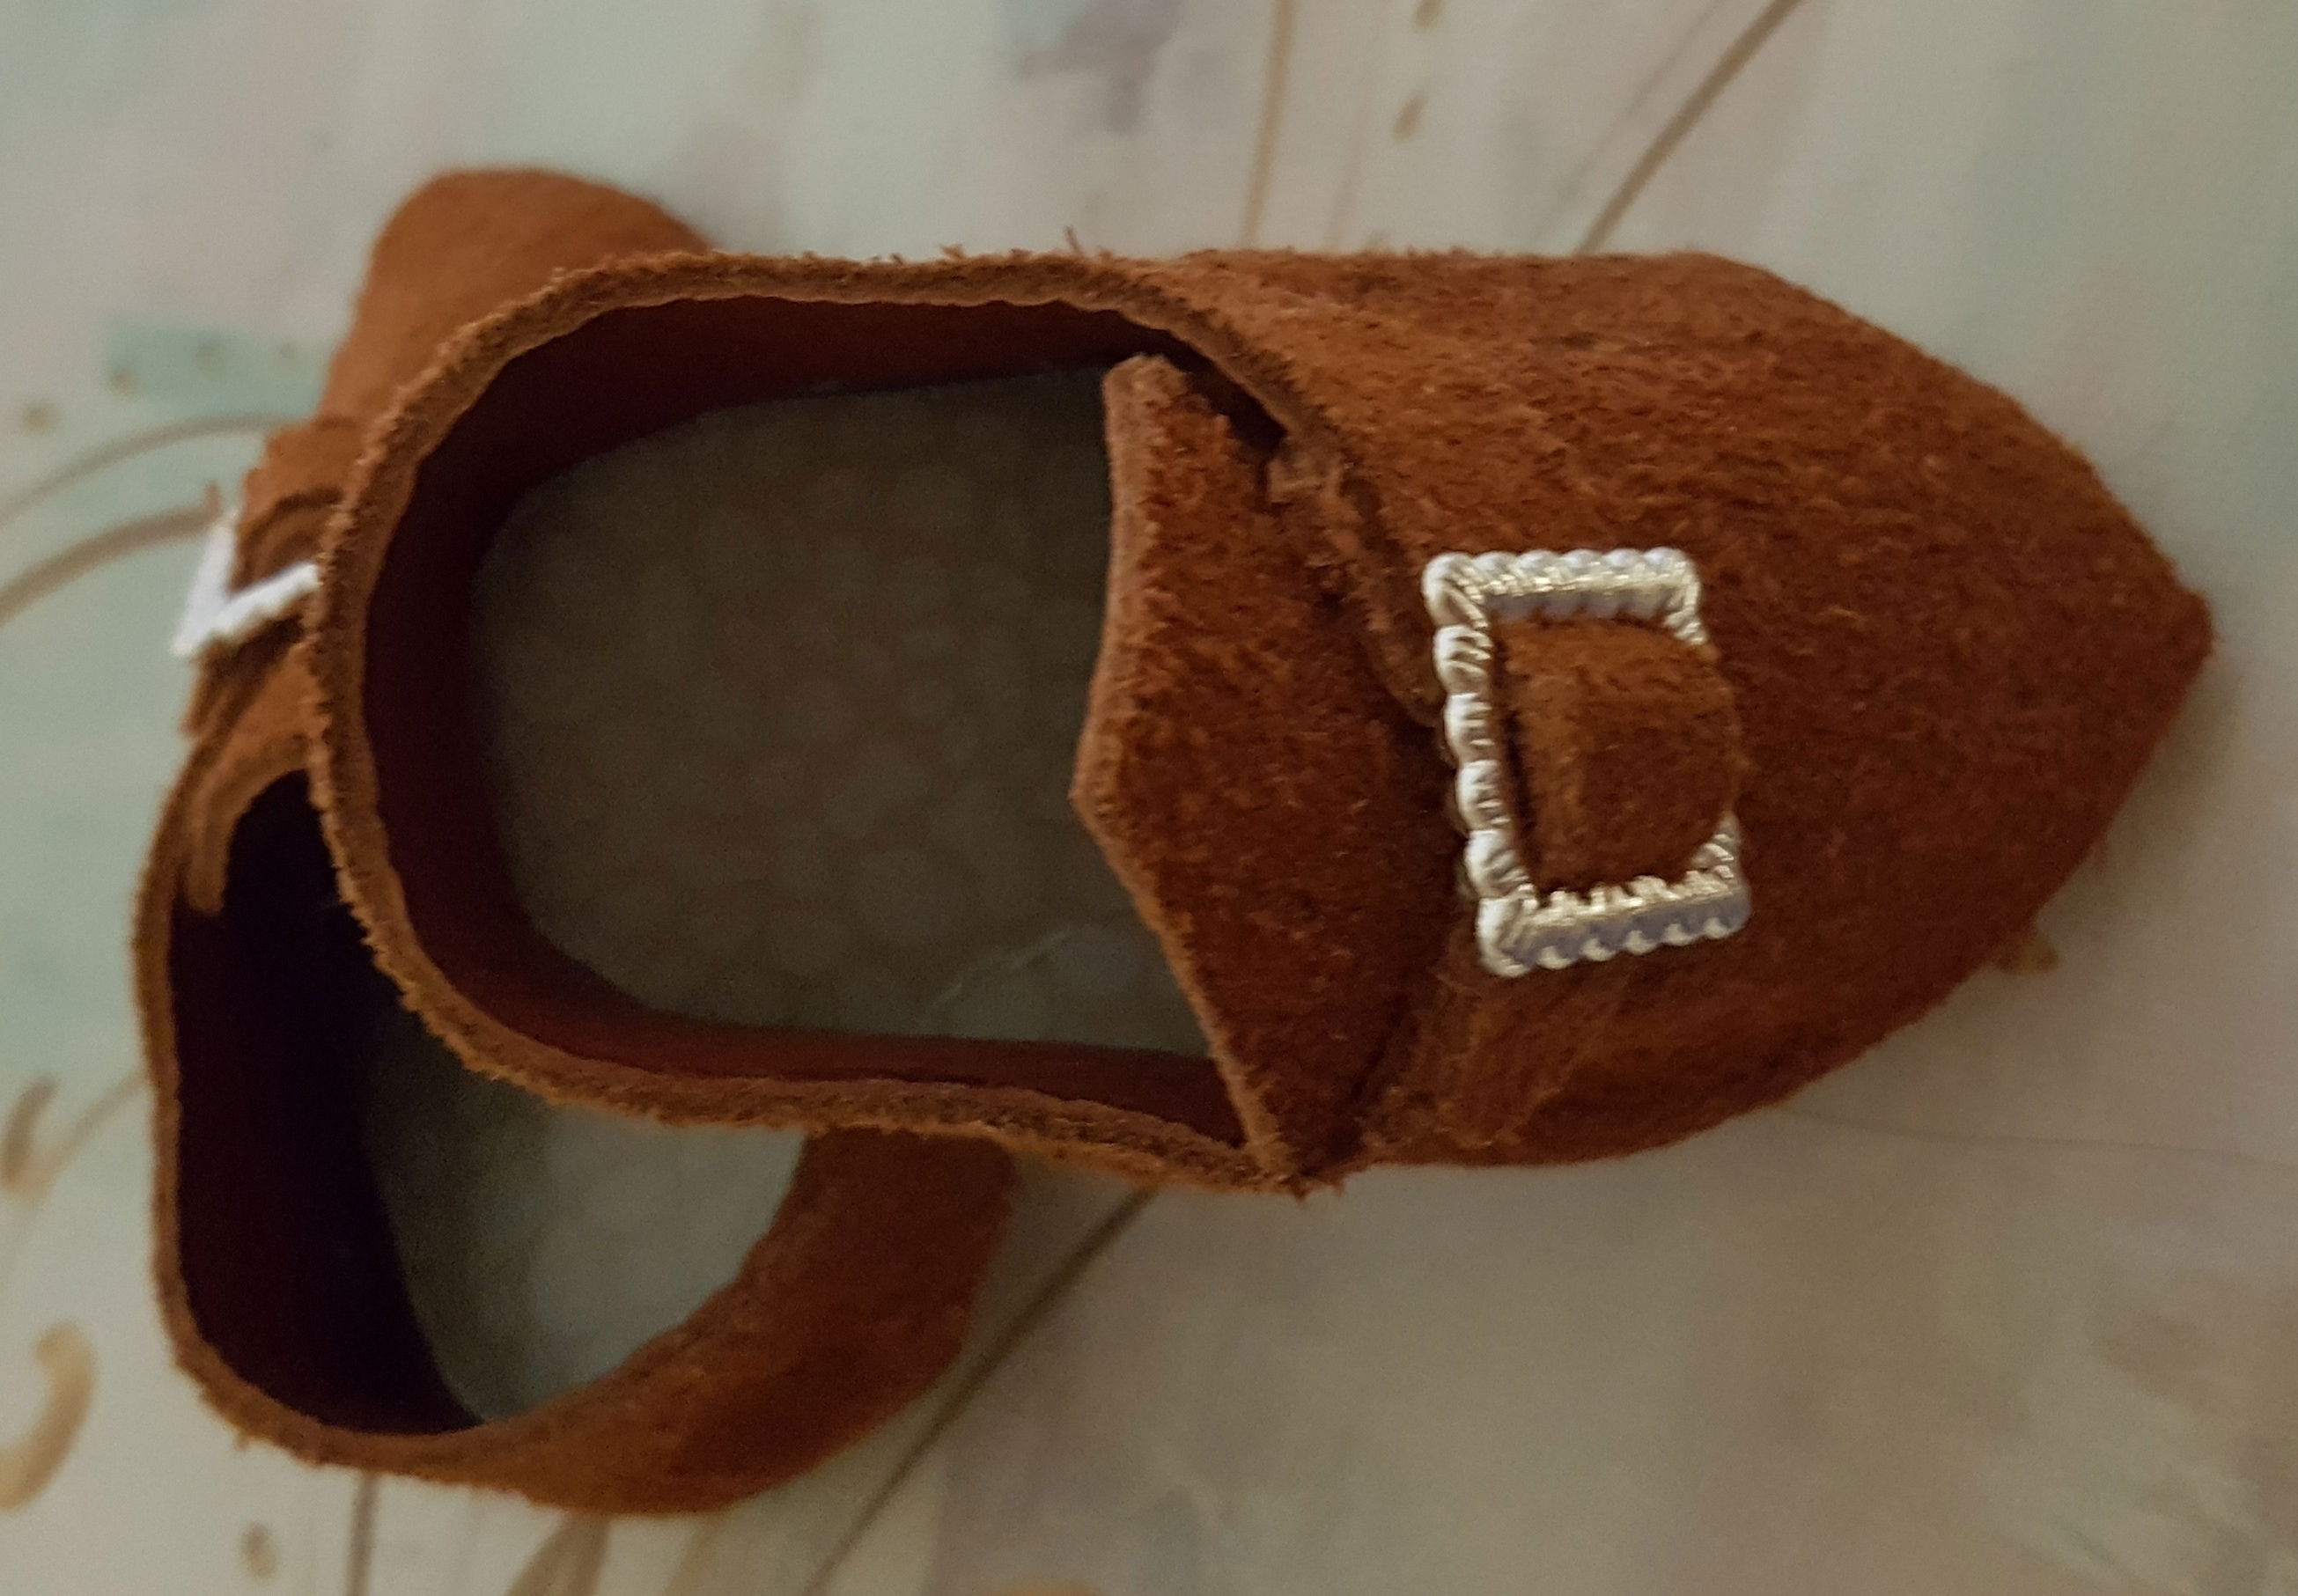
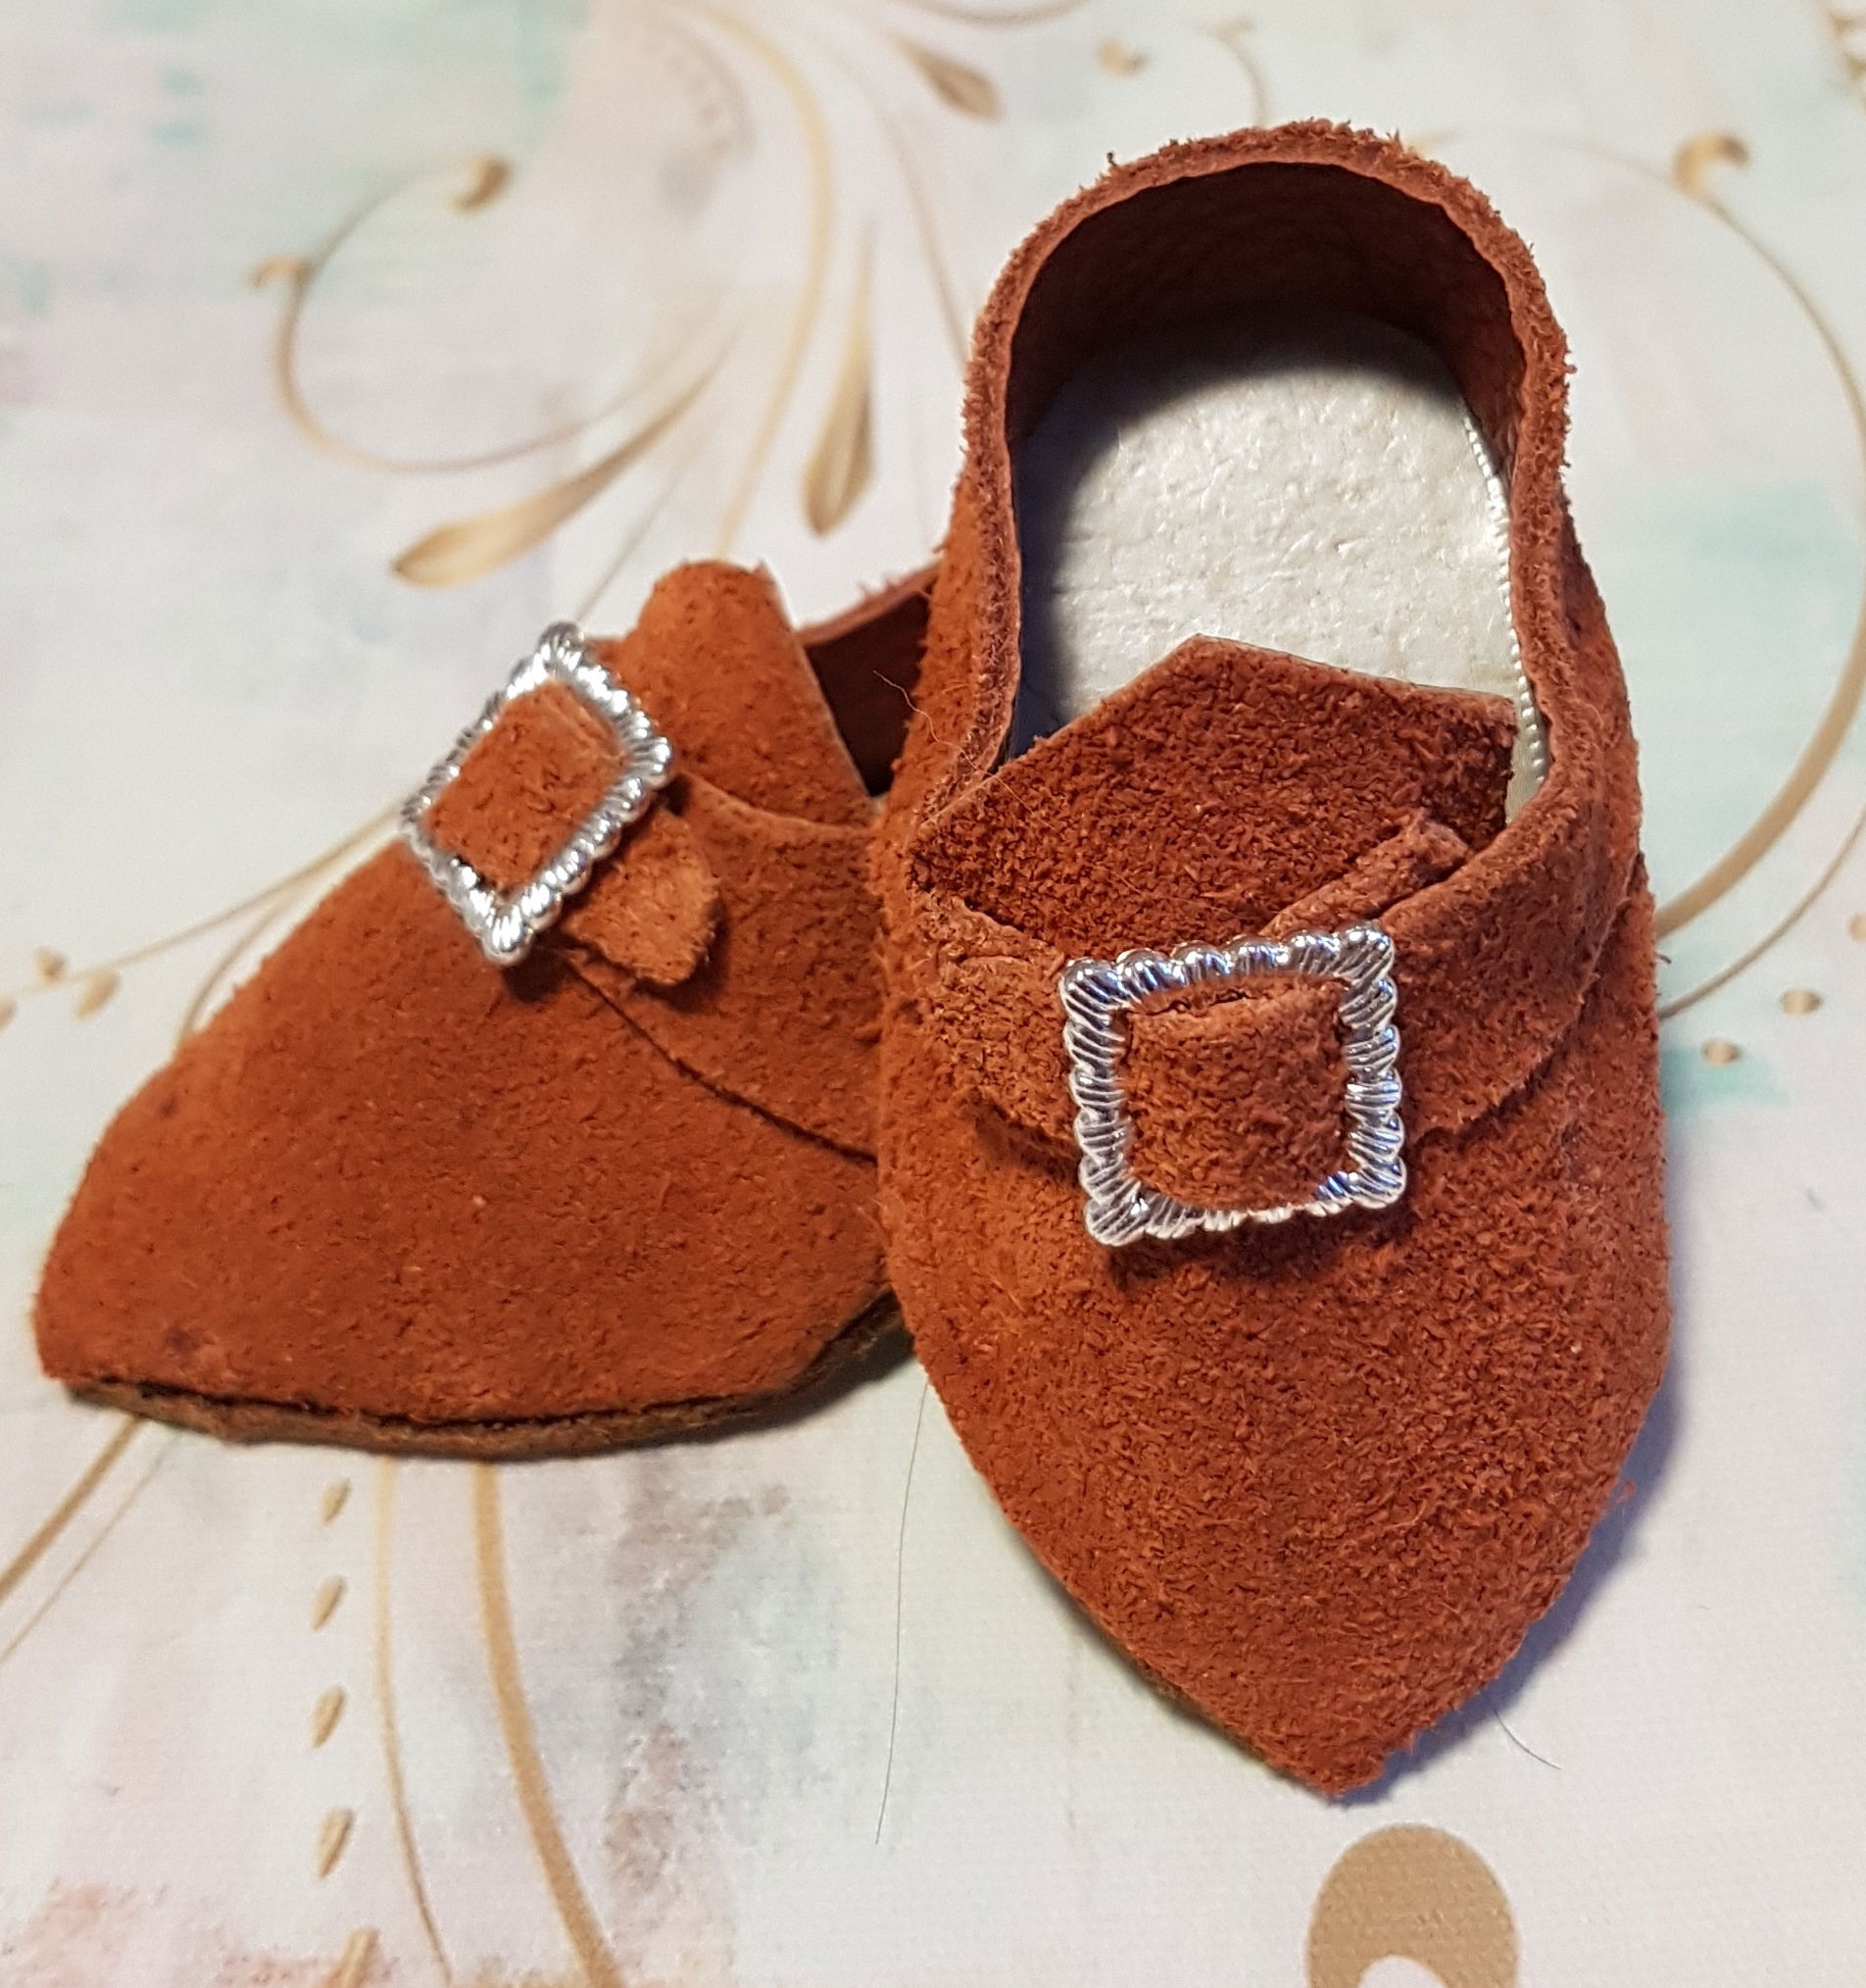
Sadly, the glue squished out on to the insole/base of the shoe, so another insole layer was added to disguise this, after the shoes were dried and complete. More practice is needed to keep the shoes nice and clean on the outside too.
The shoes came up a bit large, as the cordwainer had thought stockings, layers of cardboard and leather uppers would cause a smaller size. The pattern has been adjusted to reflect the proper fit.
Overall the prototype was pleasing and practice should make the process easier. Learning never ends.

Tips for shoe making:
-Research. Not only the chosen period but how to pattern and construct. As usual there is a lot on Youtube and in the books listed in the Resources section. Our cordwainer has much footwear experience but found Tarja Simpanen's book Techniques for Making Doll Shoes most helpful.
-Do some sketches or keep your favourite shoe pics handy. It helps when envisioning how the pieces go together.
-Check your pattern over a stockinged foot. Maybe do a mock up. Adjust fit and style before going through all the trouble of completing something. Always keep your original pattern and use a traced copy to alter or change the style.
-Create a shoe last by making an extra lower leg and foot. Or making a mold of your doll's foot. The shop uses an existing doll as the model.
-Cover your work area with brown paper or paper towel. There is paint and glue involved.
-Wear Nitrile or Cotton gloves when using fast drying glues or paint. Cotton gloves are more comfortable and reusable. Super cheap on Amazon.
-Keep a rag or Q-tips handy to wipe away accidental glue oopsies.
-A few pairs of needle nose pliers are helpful when holding small pieces to paint or trim.
-Buy a pair of sharp pointed leather scissors. Sooooo much easier on the hands and able to cut into those teeny curves and angles.
-Go slowly with the glue. Do a bit at a time rather than trying to glue the upper to the base all at once. Find something else to do while waiting for glue to set.
-Clips used for holding seams, rather than pins, are super useful for holding glued areas in place. Make sure there is no glue sticking them to the shoes!
-Experiment. You might enjoy sewing fabric shoes rather than glueing leather ones. Try different approaches. Many doll shoe makers use plastics or polymer clays for soles and heels.
-Have fun with trimmings. Rosettes, bows, embroidery, buckles . . . so much to play with.
-Make notes of what supplies you used and the corrections you will make for the next pair.
-Create another pair. And another. And another!